


The best backpack organization system is not the one with the most pouches. It is the one that keeps dense items close to the back, balances the load, protects electronics from common everyday damage and makes frequently used items easy to reach.
This is general packing guidance. Follow the bag and device manufacturers’ instructions, and verify actual compartment dimensions before claiming that any laptop fits.
Begin with an empty-bag reset
Empty every compartment onto a table. Forgotten paper, duplicate cables, old receipts and half-used supplies add weight and make important items harder to find.
Sort everything into four groups:
- needed today: laptop, required books, work or school materials;
- small essentials: keys, wallet, transit card and identification;
- support items: charger, cable, adapter, mouse or headphones;
- optional: anything included mainly because there is spare room.
Put the optional group aside. Empty space is useful: it reduces weight, allows easier access and leaves room for an item picked up during the day.
For a child’s school bag, the American Academy of Pediatrics (AAP) recommends a loaded weight no greater than 15% of the child’s body weight, along with a weekly cleanout and carrying only what is needed. This is broad pediatric guidance, not an individualized medical limit.
Measure the laptop instead of trusting the screen size
A “15-inch laptop” description refers to a screen category, not a universal body size. Two devices with the same advertised screen size can have different widths, depths and thicknesses.
Before using a sleeve:
- Find the device manufacturer’s exterior dimensions.
- Include the thickness of any protective case that will stay on the computer.
- Compare those measurements with the backpack manufacturer’s documented sleeve dimensions.
- Check that the closure operates normally without pressing or bending the device.
Do not force a computer into a tight compartment. A sleeve is also not automatically waterproof, impact-proof or protective against every drop; only repeat capabilities supported by its documentation.
Put the densest flat item closest to the back
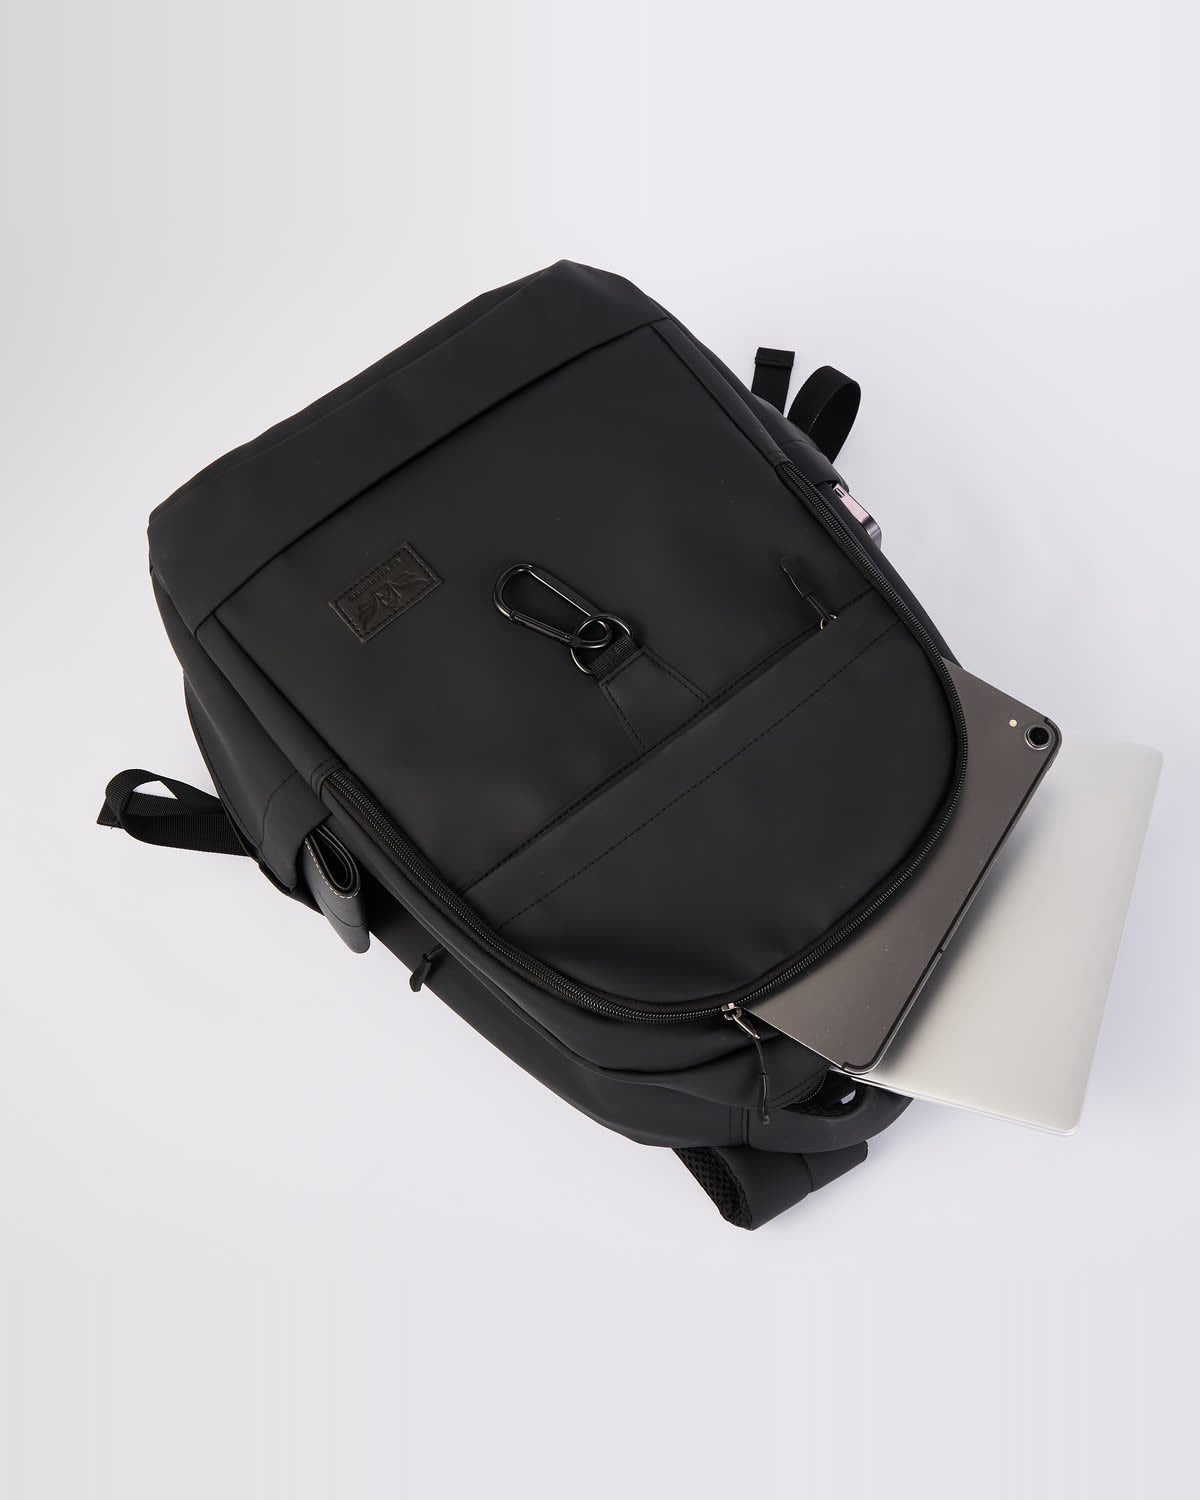
The AAP recommends putting heavy items such as computers and textbooks closest to the body. For many everyday loads, the laptop is the densest flat object, so a properly sized compartment next to the back panel is the logical starting point.
Keep the device upright in its intended compartment rather than loose in the main cavity. Avoid placing keys, plugs, a mouse or a bottle where they press into the laptop. If the bag has a built-in or removable protective component, do not put rigid objects where they distort, sharply crease or abrade that component.
Next, place notebooks or other flat materials beside the laptop zone without overstuffing. A tightly packed compartment can place pressure on zippers, seams and device edges.
Contain the charger and cables
Chargers are dense for their size and easily migrate to a bottom corner. Put the charger, cable and adapters in one pouch. This gives them a consistent location, reduces tangles and makes it easier to see whether an item is missing.
A compact cable routine helps:
- carry only the connectors the day requires;
- coil cables loosely rather than sharply bending them;
- cover exposed plug ends where practical;
- keep the pouch away from the laptop screen side;
- remove damaged or overheating charging equipment from service according to its manufacturer’s guidance.
Power banks and spare lithium batteries require extra attention when flying. The Federal Aviation Administration says spare lithium batteries, including power banks and charging cases, must be in carry-on baggage only, with terminals protected against short circuit. Always confirm current airline and national rules for the trip.
Separate liquids from electronics
A closed bottle can still leak. Keep it upright in a suitable exterior or isolated compartment when possible, and check the lid before packing. Do not place a drink above a laptop or in the same pouch as a charger.
Use a separate sealed pouch for toiletries or other small liquids. If an umbrella is wet, keep it outside the electronics area and remove it when you arrive so moisture does not remain trapped.
For air travel in the United States, the TSA’s liquids rules and item list—not a backpack’s pocket layout—determine what can pass through screening. Recheck those rules before each trip.
Balance left and right
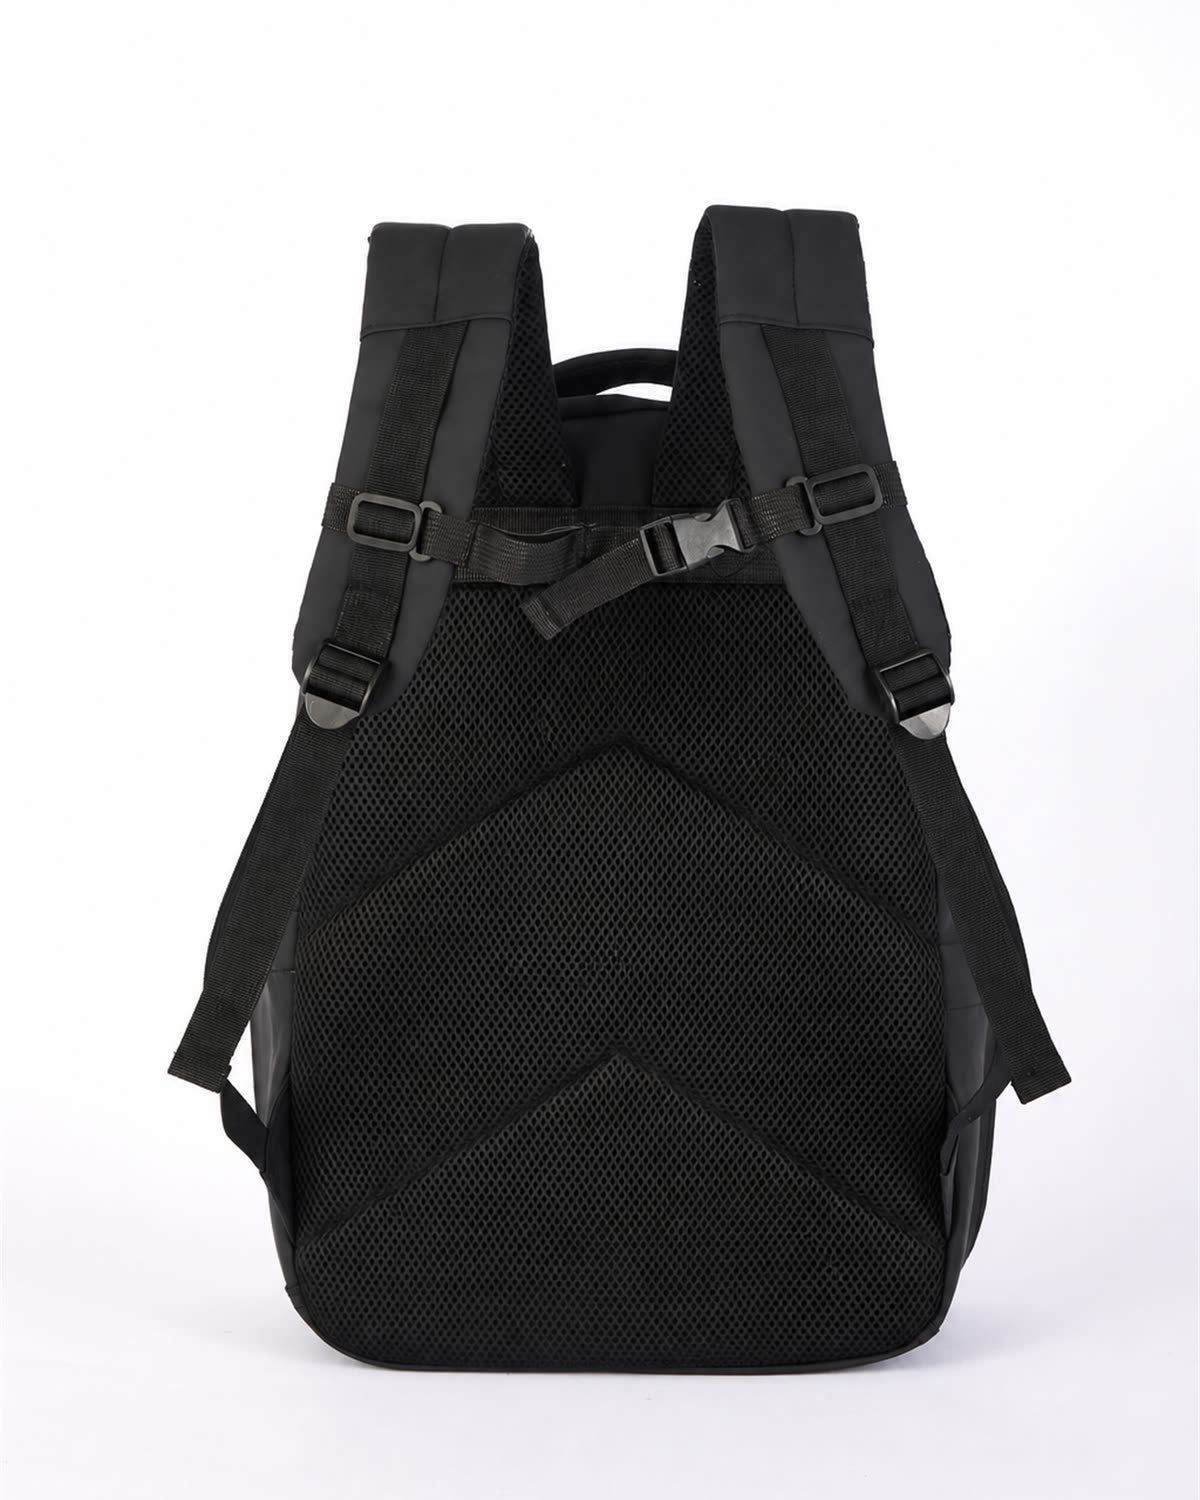
The AAP recommends placing other packed items equally on the right and left sides. Perfect symmetry is not always possible, but avoid putting every dense object on one side.
After packing:
- Lift the bag by its handle and notice whether it tilts strongly.
- Put on both shoulder straps.
- Walk and turn.
- Reposition a bottle, charger or book if one side pulls noticeably.
- Remove an item if balancing it still leaves the load uncomfortable.
Do not use a single shoulder strap to compensate for poor organization. Repacking is the better first step.
Create three access zones
Organize by when an item is needed.
Quick-access zone
Use a secure pocket for a transit card, keys or another small item needed during the trip. Avoid storing valuable items in an open exterior pocket. In a crowd, take the bag off only when necessary and keep control of it.
Destination zone
The laptop, notebook and work or class materials can remain in the main protected area until arrival. This limits repeated opening while moving.
Occasional-access zone
A cable pouch, compact layer or other less-used item can sit deeper in the bag. It should not block the laptop when airport screening requires removal. The TSA recommends packing large electronics on the top layer for accessibility and, in standard screening lanes, removing personal electronics larger than a phone for X-ray screening.
Run a 60-second departure check
Before leaving:
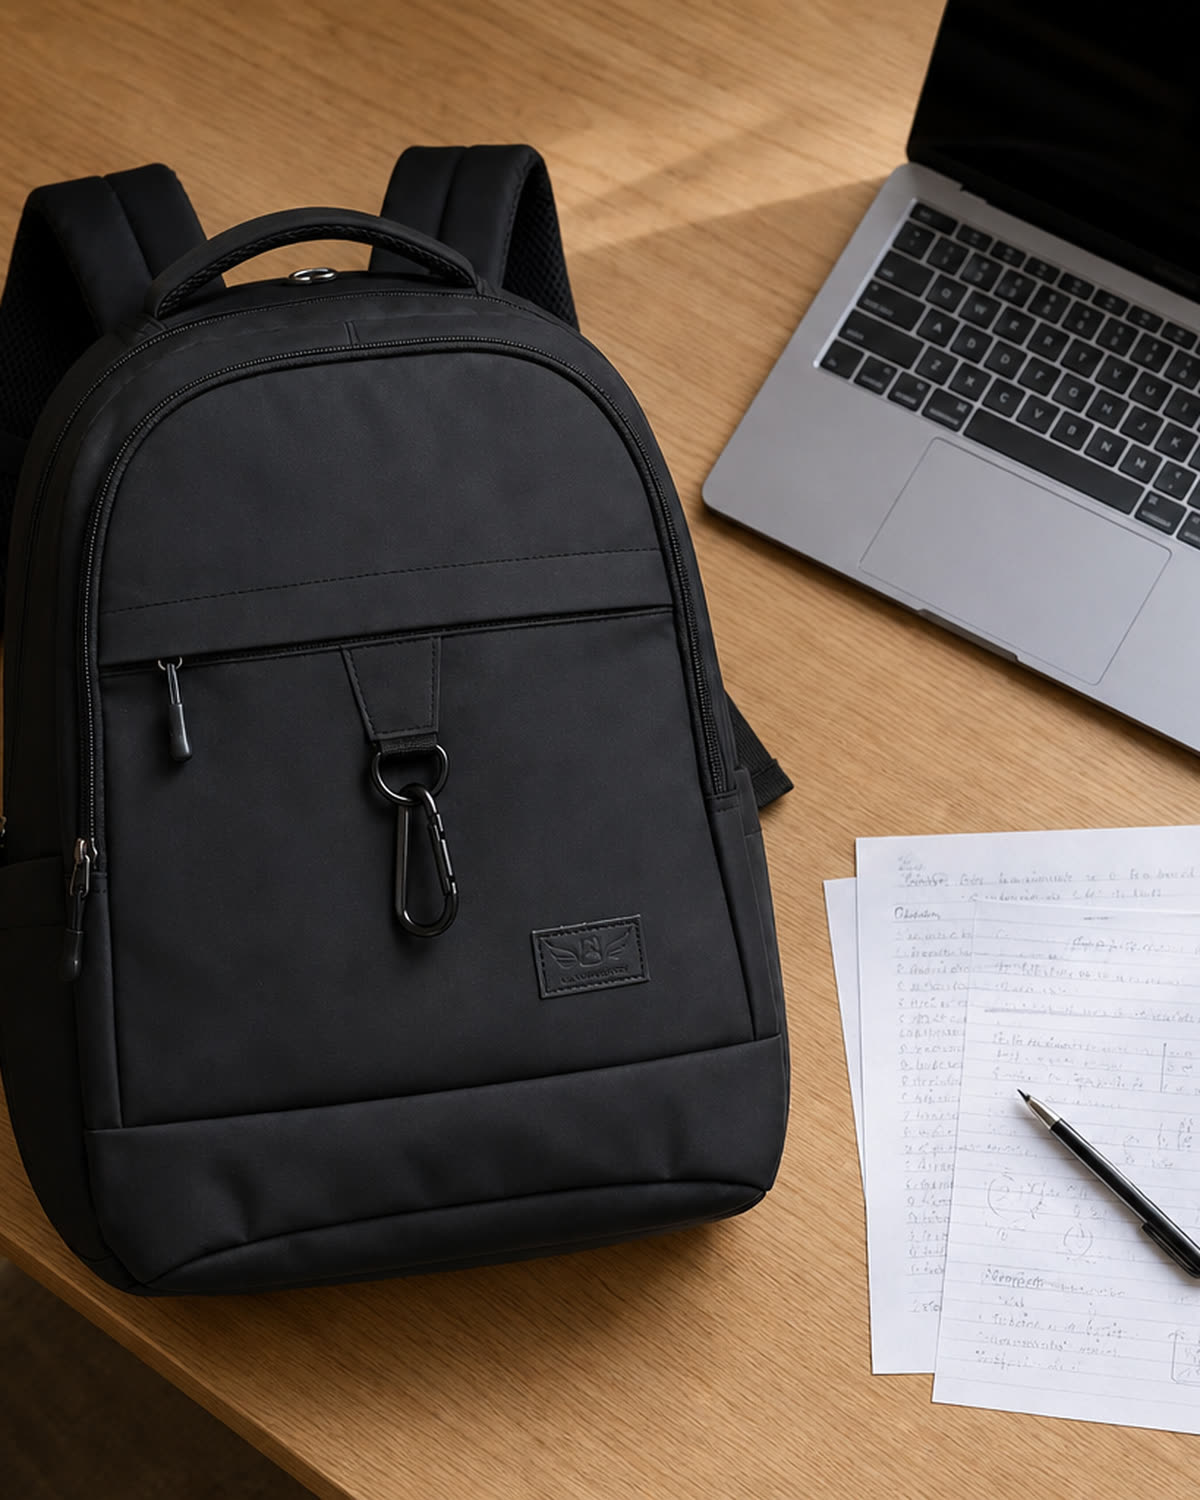
- laptop in a correctly sized compartment;
- required charger and cable only;
- bottle closed and separated from electronics;
- keys and transit card in a consistent secure pocket;
- dense items close to the back;
- left and right reasonably balanced;
- zippers and buckles fully closed;
- both shoulder straps ready for use;
- no unnecessary items added “just in case.”
Once a week, empty the entire bag and repeat the reset. A simple system works because it is easy to restore.
For more on comfortable daily carry, read How to Fit and Pack a Heavier Everyday Backpack. If the bag has been exposed to unusual moisture, review How to Care for a Protective Backpack in Rain, Snow and Daily Use, follow the manufacturer’s instructions, and do not treat repacking as proof that it remains fit for protective use.
Sources
- American Academy of Pediatrics, “Backpack Safety”: https://www.healthychildren.org/English/safety-prevention/at-play/Pages/Backpack-Safety.aspx
- Transportation Security Administration, “Travel Checklist”: https://www.tsa.gov/travel/travel-tips/travel-checklist
- Transportation Security Administration, “What Can I Bring?”: https://www.tsa.gov/travel/security-screening/whatcanibring/all
- Federal Aviation Administration, “PackSafe—Lithium Batteries”: https://www.faa.gov/hazmat/packsafe/lithium-batteries
- Occupational Safety and Health Administration, “Computer Workstations—Workstation Components”: https://www.osha.gov/etools/computer-workstations/components
This article offers general organization guidance and does not establish product fit, protective performance or medical advice.